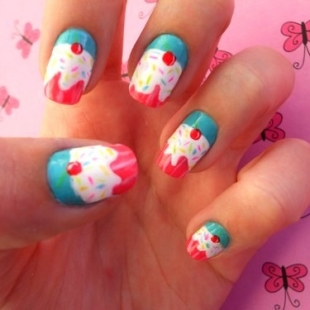
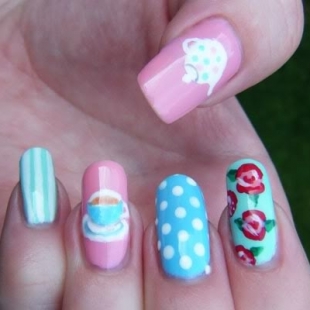
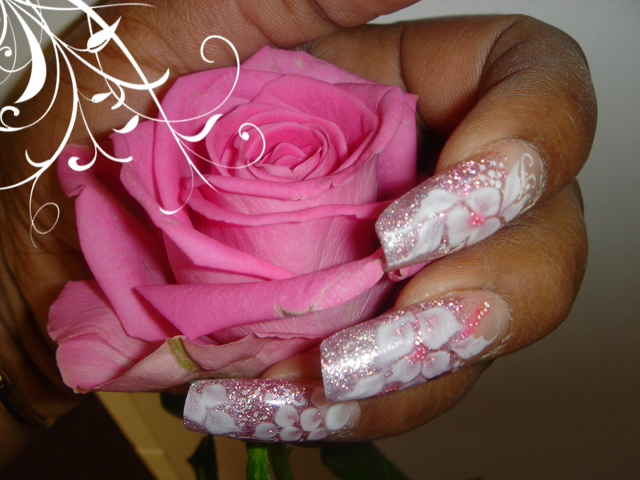
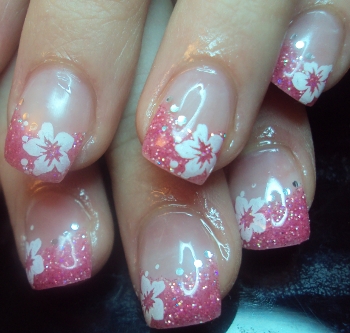
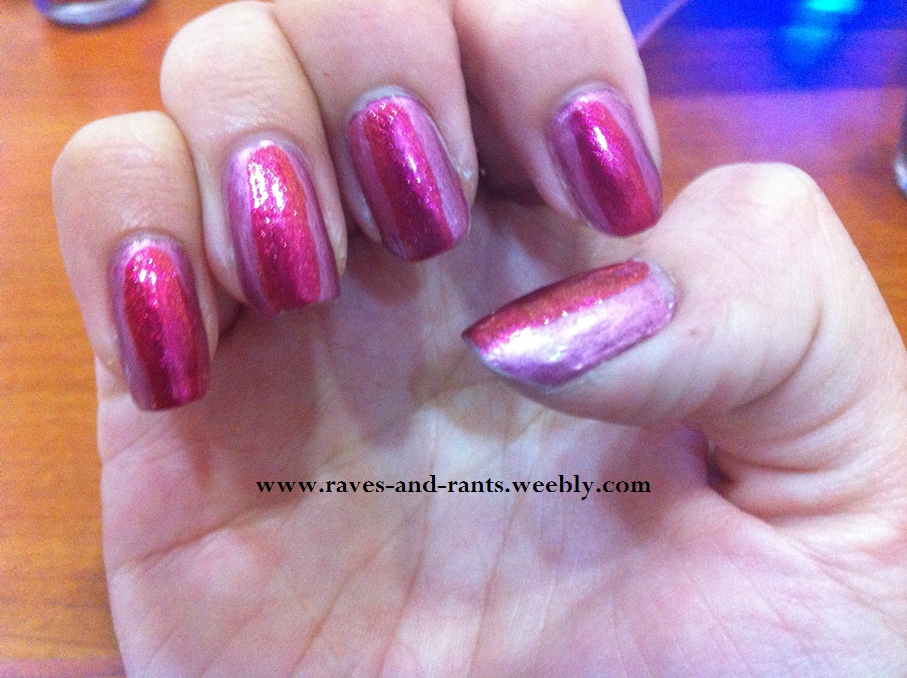
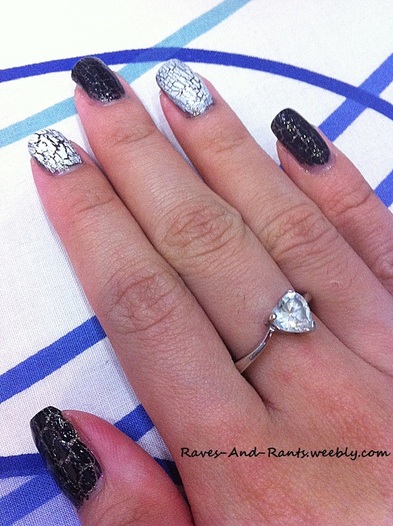
As per my previous post, here's a sneak peek on my manicure I did yesterday! More pictures and info will be coming right up do stay tuned! :) <3
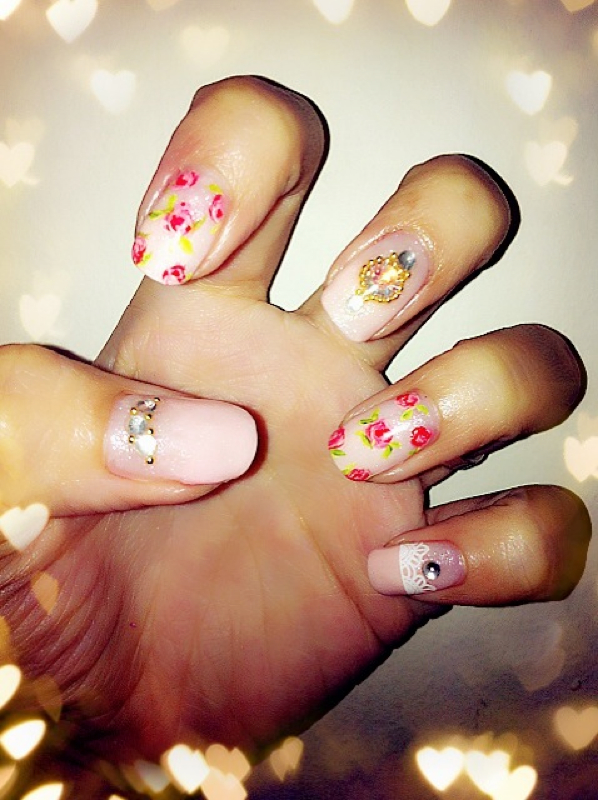
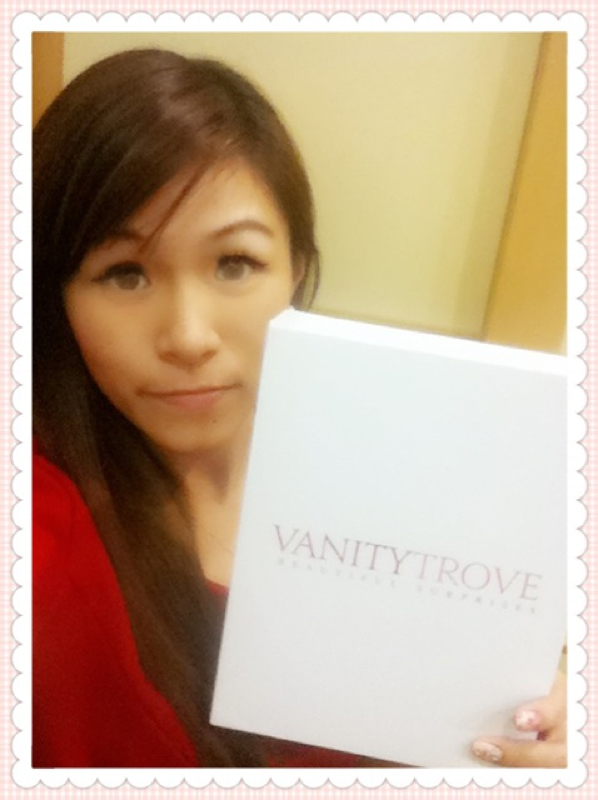
Also, don't miss out what's in the October edition of Vanity Trove! :D
As per my previous post, here's a sneak peek on my manicure I did yesterday! More pictures and info will be coming right up do stay tuned! :) <3
Also, don't miss out what's in the October edition of Vanity Trove! :D
0 Comments
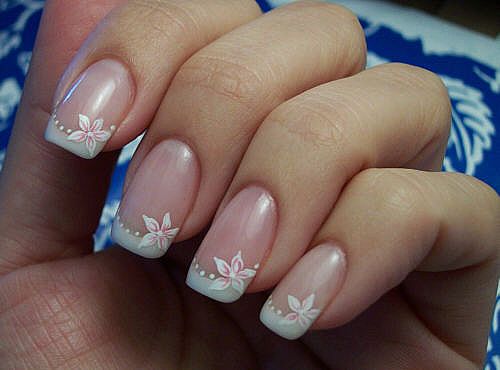
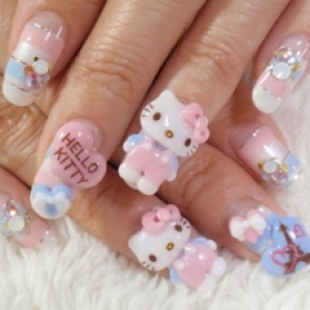
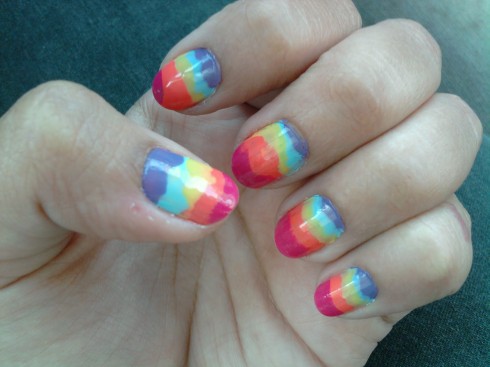
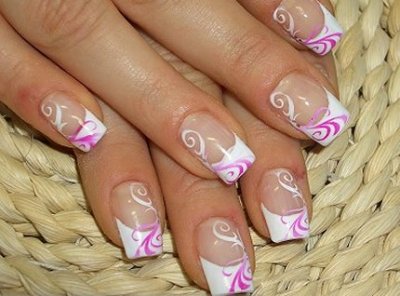
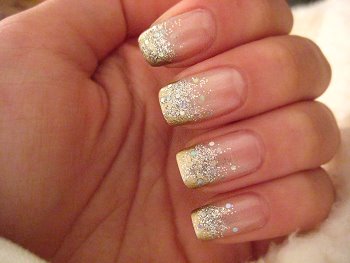
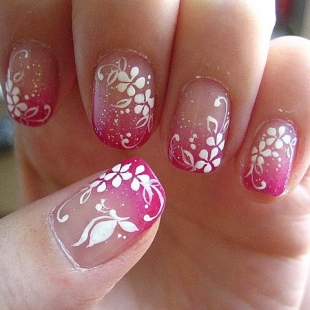
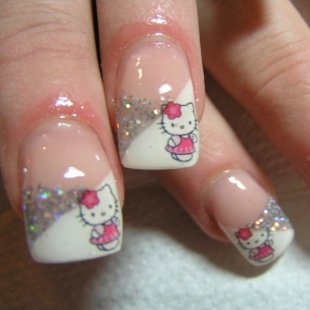
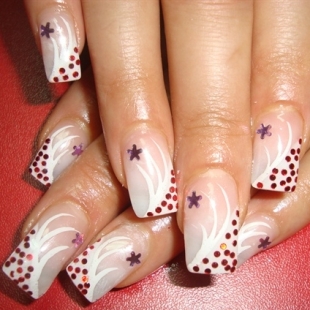
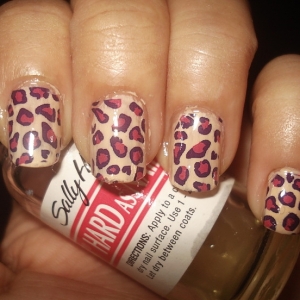
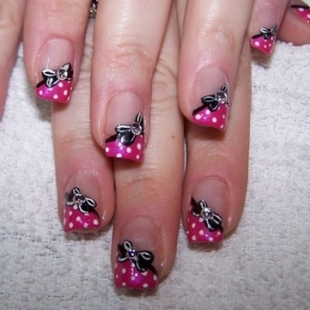
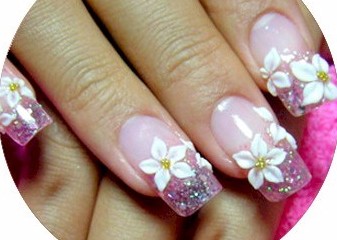
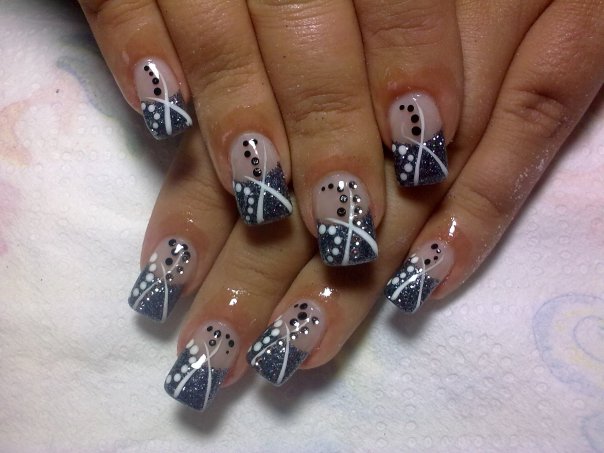
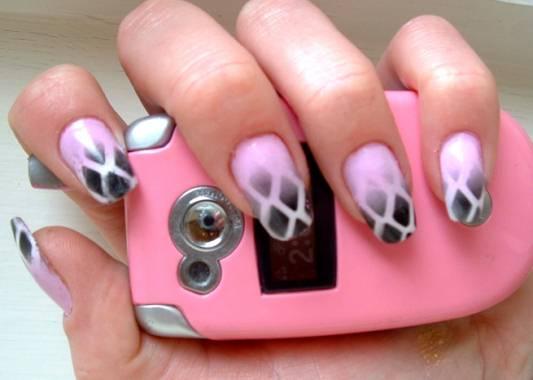
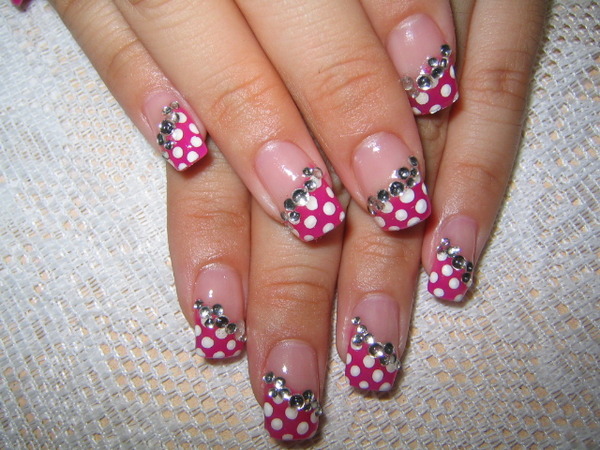
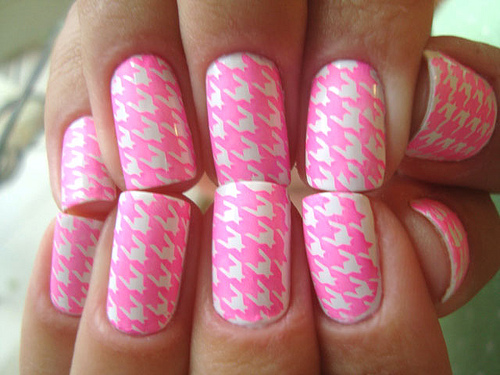
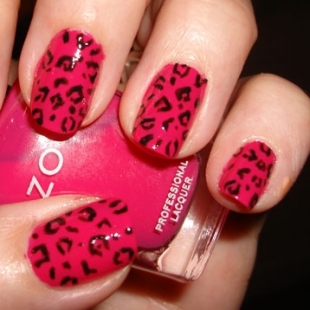
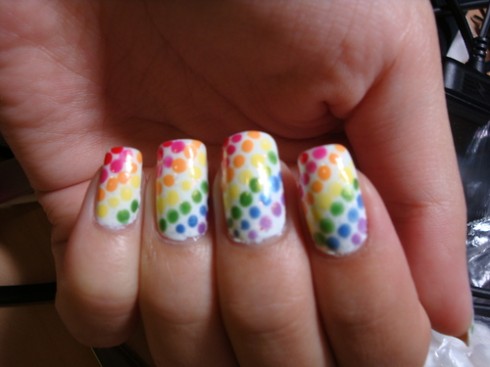
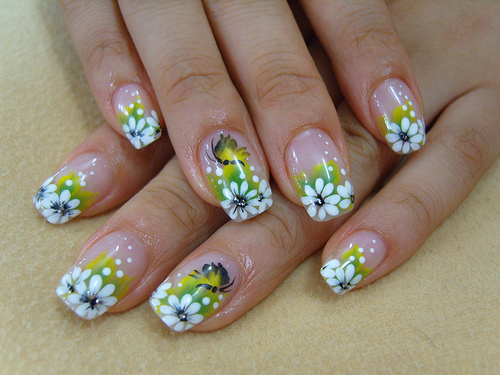
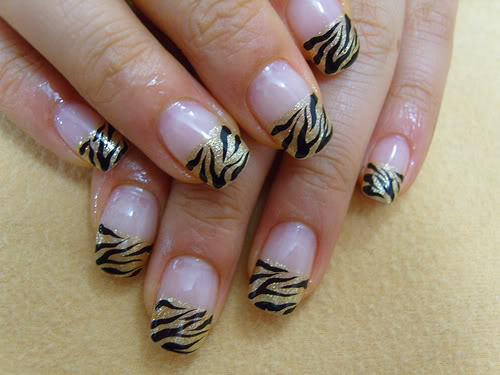
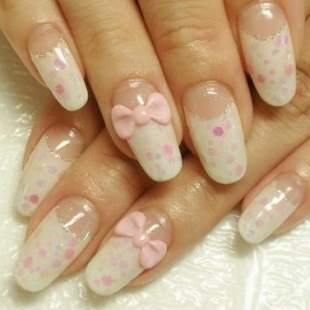
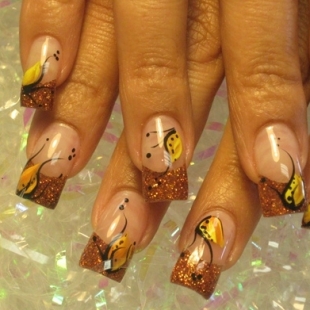
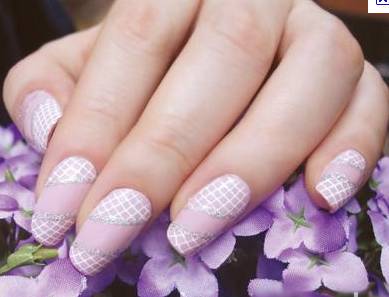
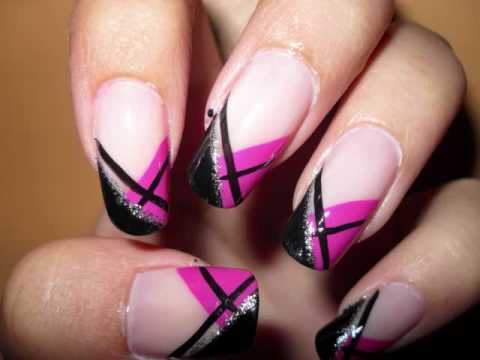
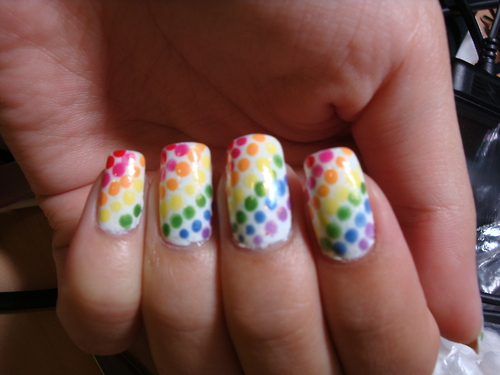
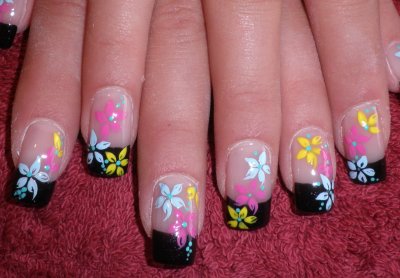
Will be attending my manicure session later at a home based nail salon! First experience with a home based nail salon... :D Getting myself all warmed up with heaps of designs! Googled some images off the net, which one would you choose? I just can't decide! Stay tuned for tonnes of pictures of my newly revived nails and info on which nail salon I will be going to! <3 :) Turned into a nail art/nail polish fanatic recently and went on a crazy shopping spree! In the midst of my exploration and discovery for awesome nail products, I chanced upon VOV Nail polish crack series while shopping my life away on GMarket (Now known as Qoo10 though I very much prefer the former). It was really cheap compared to brands such as China Glaze and OPI which costs around $10 or more. $10 is the cheapest I've seen so far that are currently selling on GMarket and it excludes shipping fees of course. Sometimes I think that the shipping fees are really horrendous and some sellers might try to squeeze more profits out by increasing the shipping charges (which we won't know the exact amt since it's overseas and it depends on the size/weight and how it is packed etc). So anyway, quite turn off by some hefty shipping price which makes it seem all so not value for money...! Anyway, here's to share my reviews on the VOV nail polishes. 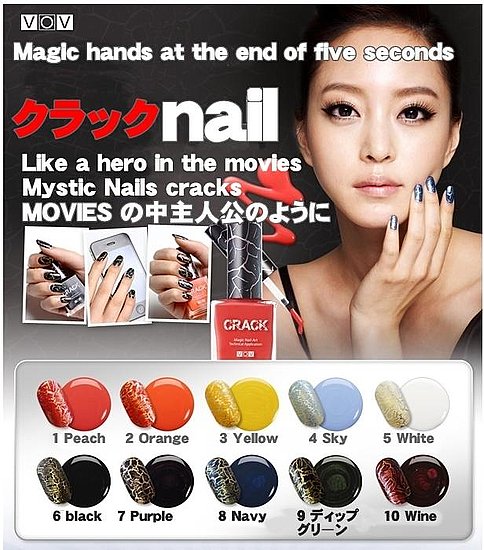
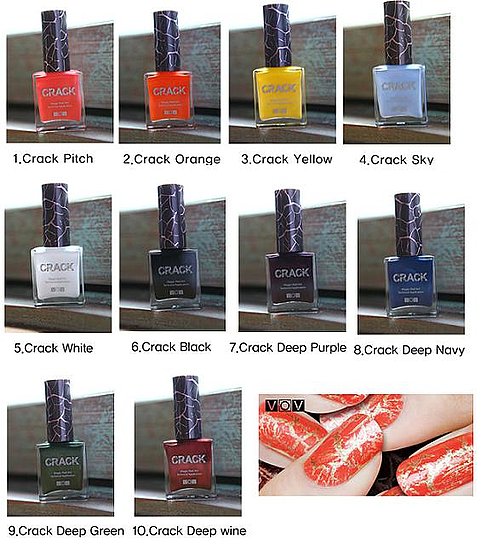
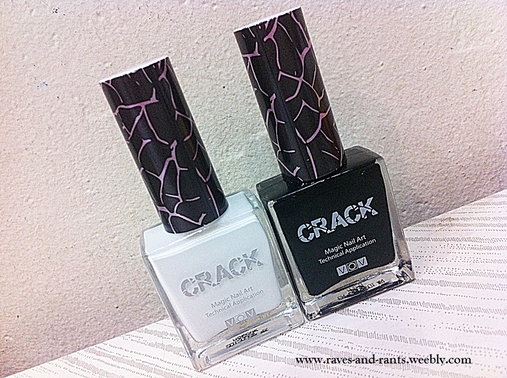
I bought the basic colours, black and white one first. (bought another 3 more colours after trying them out =x) 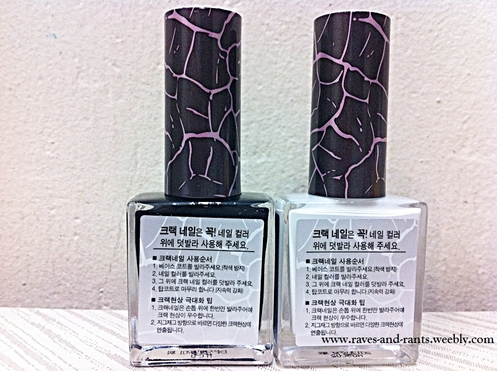
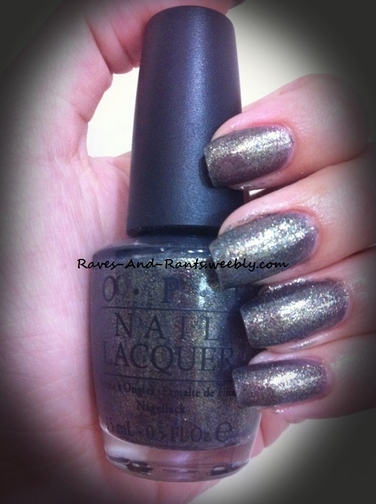
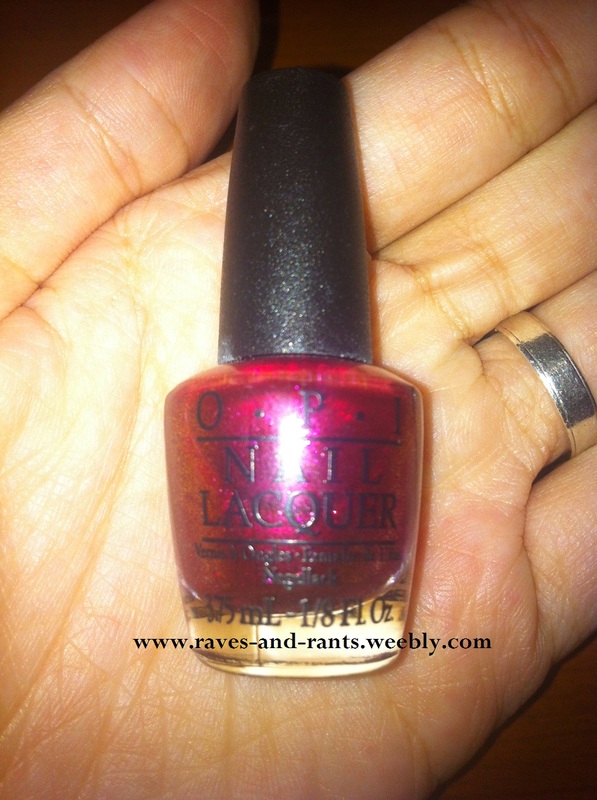
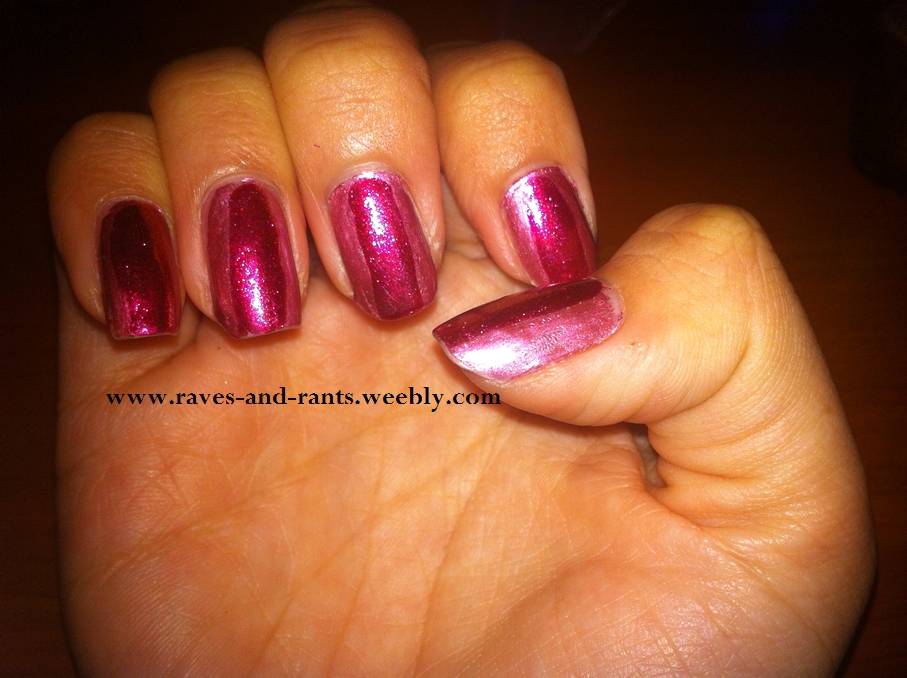
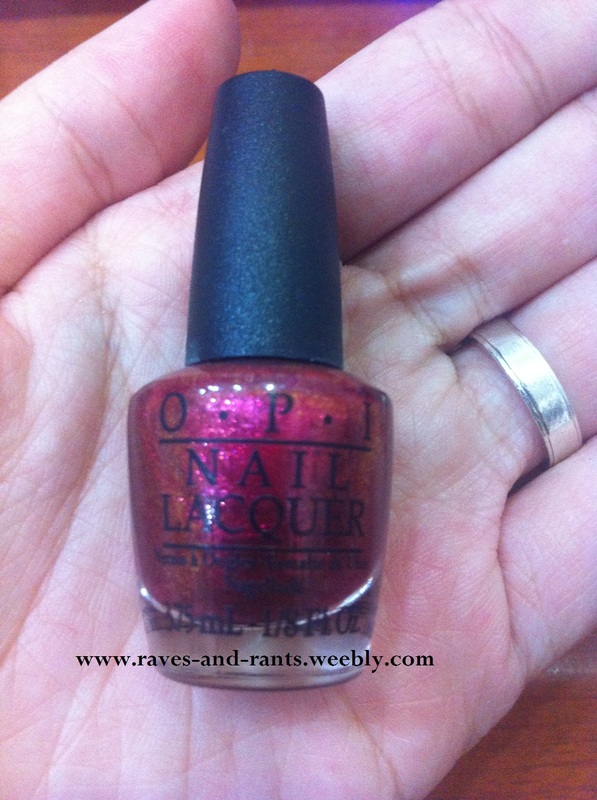
Bought this recently. OPI's Number One Nemesis and now I understand its name, because I dislike the colour! At first, I'd thought it's shimmery glittery black but boy was I wrong! I did google for some swatches for this colour as well but it looks completely different on my nails?! It's more of dirty green than black. SIGHS. So because I disliked the colour, I painted the VOV Crack nail polish over it and erm, honestly the crack nail polishes are great, but it doesn't go well with this OPI colour! Disaster! UGH! No offence, I do like OPI nail polishes but just that this colour is so not me! I'm usually in shades of red, pink and purple and hence thinking of getting a black coloured one... 
What I really like about the VOV crack nail polishes is that it dries out very fast! Well, this could be both a good and bad thing. If you paint like a pro with minimal mistakes, then great. But if you have shaky hands, like me, you can't paint accurately and by that I mean to paint from the cuticle to the end with perfect strokes, then it might turn out as a disaster for you because since it dries out so quickly, there's not much time to salvage it. If you try to repaint it over, it becomes lumpy and shows signs of overlapping, if you know what I mean. Compared to normal nail polishes where it's still wet and googey, you can somehow try to stroke it over again and spread them out evenly etc. But nonetheless, this VOV crack nail polishes have proved their worth! It's sold for only $3.50 now at GMarket! I can't wait for the other 3 colours (peach, navy and wine) to arrive esp the peach!!! :D I shall use it with gold colour the next time round as shown here! 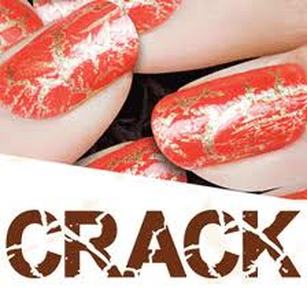
Heh! So stay tuned! :D Overall rating : 
Requirements to use nail art stickers
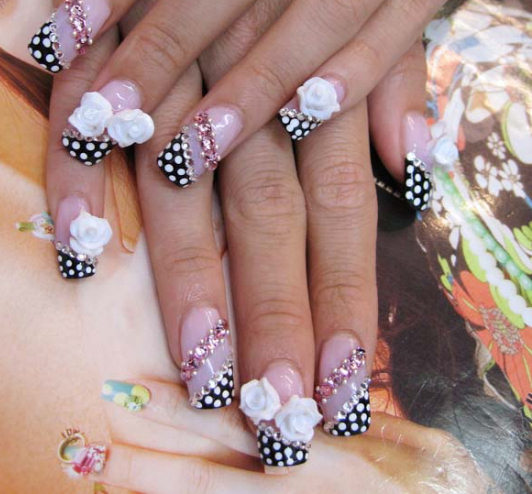
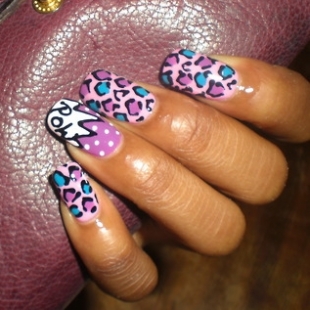
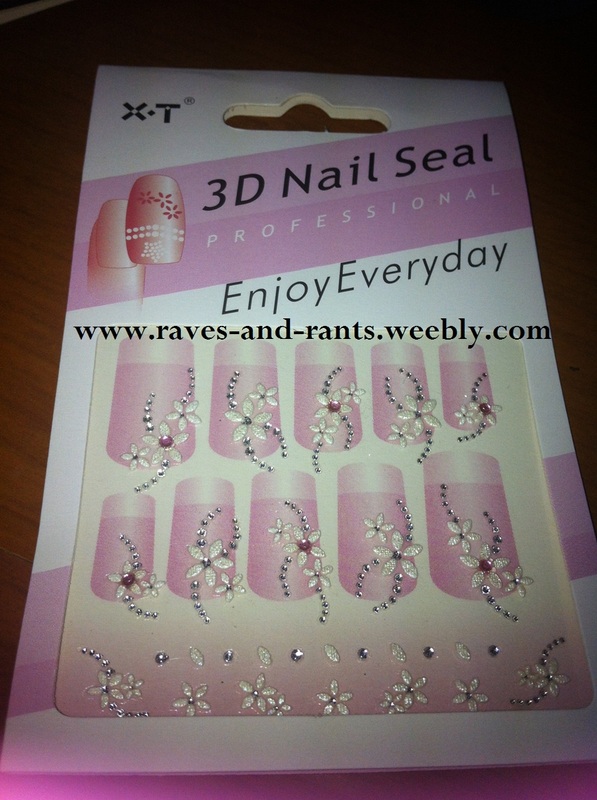
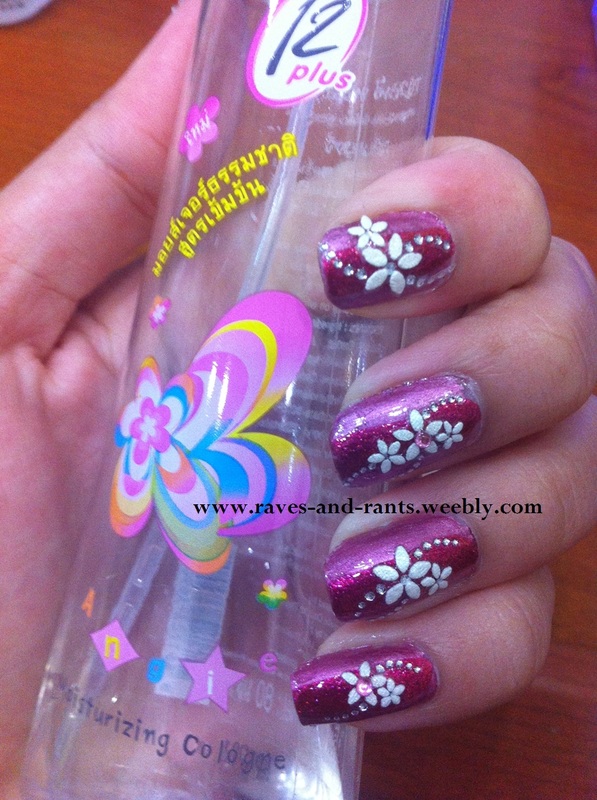
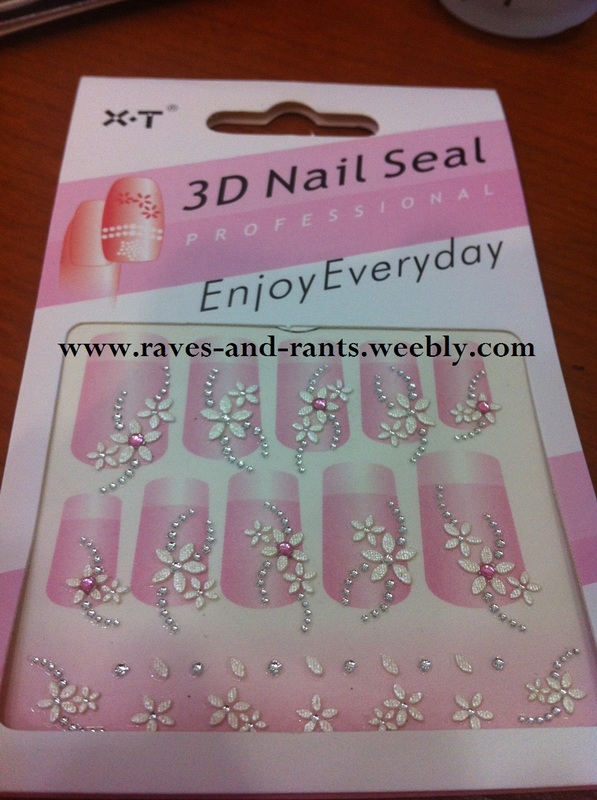
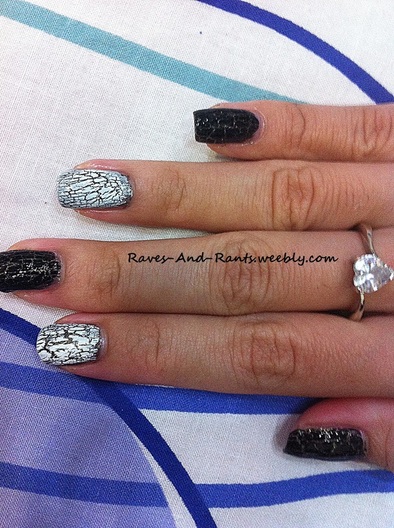
If you meet most of the requirements above, then nail art stickers are for you! I dug out some of my old nail art stickers which I bought from pasar malam (very cheap! but can't recall the price) and DIY the nail art myself. Well, ok fine most of the credits go to the nail art stickers but... still, I'm here to share on tips using these stickers, which I learnt along the process! Pictures are all taken with and without flash to showcase the glittering effect of the nail polish and the diamond on the stickers!
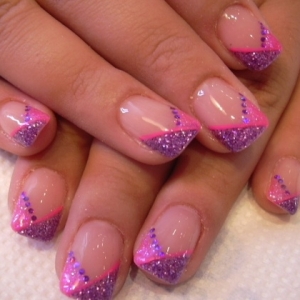
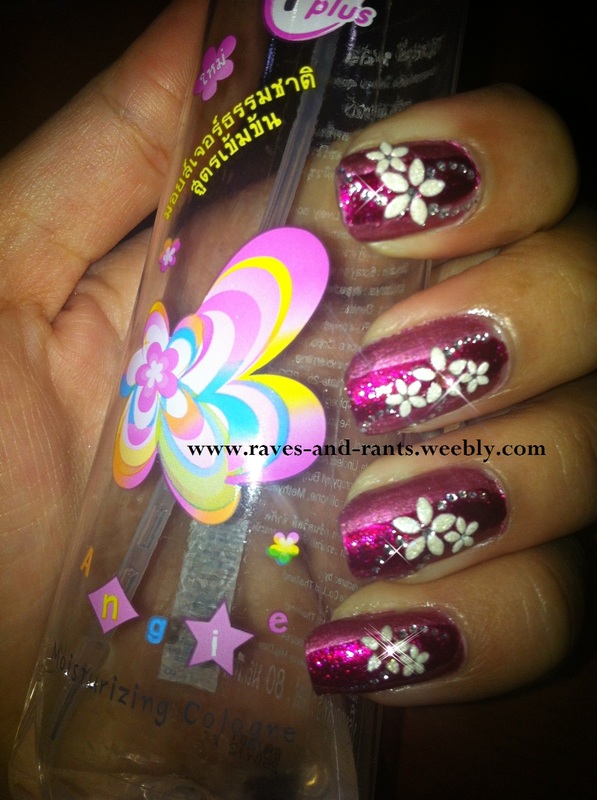
If you would recall, in my past entry post, I had used China Glaze Emotion to paint the lighter purple. The glitter hot pinkish purple is from OPI Burlesque Mini Set - The Show Must Go On! and I had merely painted a strip in the centre.
Now here are the steps and challenges when using nail art stickers. It may not seem as easy as it looks.
Ladies, don't expect these nail art stickers to stay on for a long period of time. They are merely temporary and their 'lifespan' is much shorter than those nail arts the manicurists design for you, but of course, the completion time is much faster. I took only around 45 mins or less to complete my finger nails. *It would be easier if you use a tweezer to remove the stickers from the plastic and paste them onto your nails, while positioning them. But be sure not to press the tweezer too hard that it tears the sticker apart. Have fun decorating your nails with nail art stickers! :) xoxo Jean | Author
Hello there! Welcome to my blog where reviews on Beauty, Fashion and Lifestyle can be found!
Please note that reviews are based on my personal experience and sole perspectives. I am not paid to advertise unless stated otherwise :) Also, products reviews and results may differ individually. Feel free to leave comments! :) Love, Jean *All contents of this website is protected by copyright laws. They may not be reproduced or copied in any form or way either entirely or in part without the express written permission of the author. The copyright laws also governs any translation of any material into other languages, including electronic revival systems. All rights reserved. Be the first to receive updates from my blog by subscribing up now! :)
Rating Chart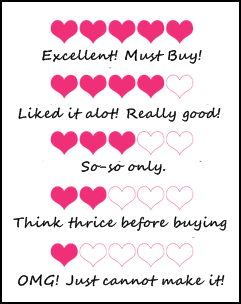
Contact Info
Beauty products, apparels, accessories, dining, travel and services are gladly welcomed! :)
I also write for

Advertorials
Selling apparels from top brands such as ASOS, Zara, Topshop, Forever21 and many more!
Yummy designs of shoes as well (large sizes available!) Quote 'RavesAndRants' and be entitled to 10% off any item and enjoy shopping! :) 
Are you a fan of branded bags but put off by the prices? Lux Grandeur is THE SOLUTION!
At Lux Grandeur, you can get your hands on top brands such as Burberry, Prada, LongChamp, Michael Kors and Kate Spade! Definitely much cheaper than retail prices and are 100% authentic! Quote 'RavesAndRants' and be entitled to 10% off any item and enjoy shopping! :) No. of Visitors
ArchivesOctober 2012 CategoriesAll 
 
  |